I am one of those people who appreciates down time, especially in a comfy chair or sofa. When redoing my dressing room, I found a really nice chair - at Habitat Restore! - "on sale" for only $10.00. It was a plush, comfy, well-made chair in great condition, except for one thing - the fabric. Nice fabric, but not matching my decor. I purchased some beautiful chenille zig-zag patterned fabric at Hancock Fabrics (of course, on sale!) and reupholstered it. Loved it!
But I really wanted to be able to prop my feet up. I needed an ottoman. Not just any ottoman, but an ottoman that looked like it belonged with this chair. Hence my ottoman project!
Things I wanted in the ottoman were: To match the chair's cushion and height vertically, to match the shape of the front edge of the chair so that when it was pushed next to the chair it looked like one piece, and to have a footrest or cubby hole in the side facing the chair.

Here are my materials: Two pieces of plywood, a length of oak (for the legs), eight metal brackets, some screws, and jute. I also had foam for the cushion, batting, and my fabric. And about 10" of 1.5" dowel.
This is the shape of the ottoman, drawn on the plywood. I will cut two, using a jig saw. One piece will form the top, the second will form the bottom. This shows the bottom piece, which will have notches cut out for the legs. My plan is for the legs to go from the floor and up through these notches. The ottoman top will go on top of the legs. So the legs are the support for the entire ottoman structure.
I used a string held on one end at a center point and with a pencil on the other end to draw the arc I wanted. The inner curved edge (on the left) was to match the curve of the front of the chair. I laid the chair cushion down on the plywood and traced it!
Legs. I cut the oak 1x2 into about 11" lengths and cut the lower 5" of each one so they tapered to a 1x1 footprint. I used a stain to match my chair and polyurethane to make them shiny.
Ok, I could have bought legs, but for one thing they would have been more expensive, and for another, this design provided the inner support I needed.
The ottoman bottom (on left) with notches cut and brackets placed in each so that the bottom of the bracket was under the plywood. When I set the legs in, I will screw them to the part of the bracket that is sticking up.
(By the way, the dowel pieces on each end provide support for the rounded ends of the ottoman.)
On the right is the top of the ottoman, with brackets where the top of each leg will be positioned.

Before I screw on the legs to finish the ottoman structure, I cut a piece of thick rubber shelf liner and glued it to the surface of the bottom piece. This will be the floor of the footrest/hidey hole inside the ottoman.

Cutting the foam that will go on the top of the ottoman was pretty easy. I traced one of the plywood pieces, then used an electric knife to cut it out. The electric knife makes this SO easy. The only thing is, you have to pay attention and make sure the knife is perfectly vertical so your sides will be straight.

After screwing the legs into the brackets, I have the basic structure complete. Here it is with the foam piece on top. Looking good.

To provide support around the side of the ottoman, to give the fabric something to be up against, I stretched pieces of jute between the plywood decks and stapled in place.
Here you can see the cover for the cushion has been made. I first covered the foam with batting and then slid the cover over it. You may be able to see that a piece of fabric is attached to the lower edge of the cushion - it will cover the sides of the ottoman.

Finishing up - stapling the fabric attached to the bottom edge of the cushion to the bottom and trimming the edges of the bottom and of the footrest/hidey hole with cording.

The completed ottoman - front view.

The ottoman fits up against the chair nicely!

A view from the inside showing the footrest/hidden compartment!
This project hasn't taken that long, and I love the results!
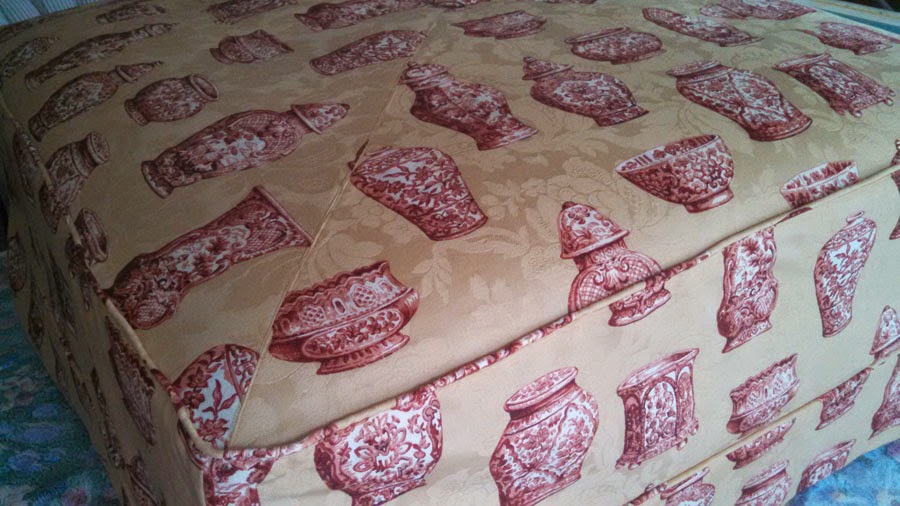
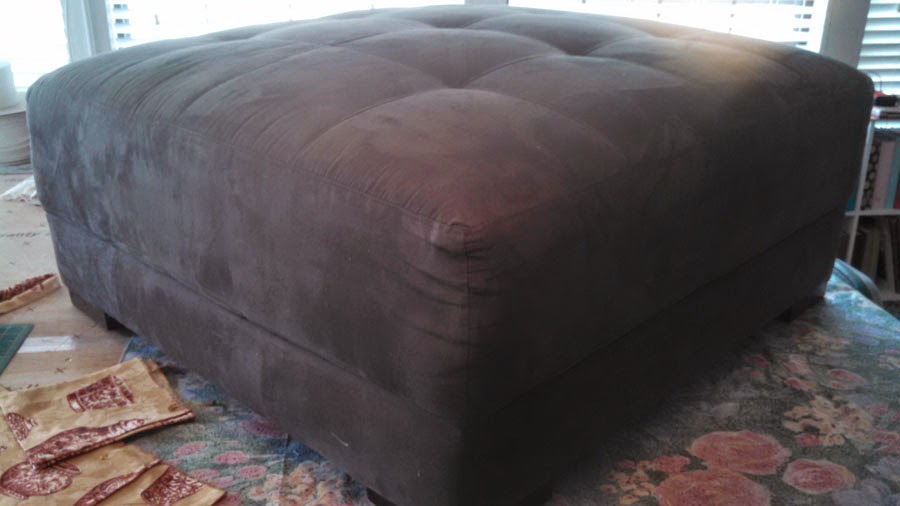 Here is the "before" picture. The ottoman measures 37.5" on each side.
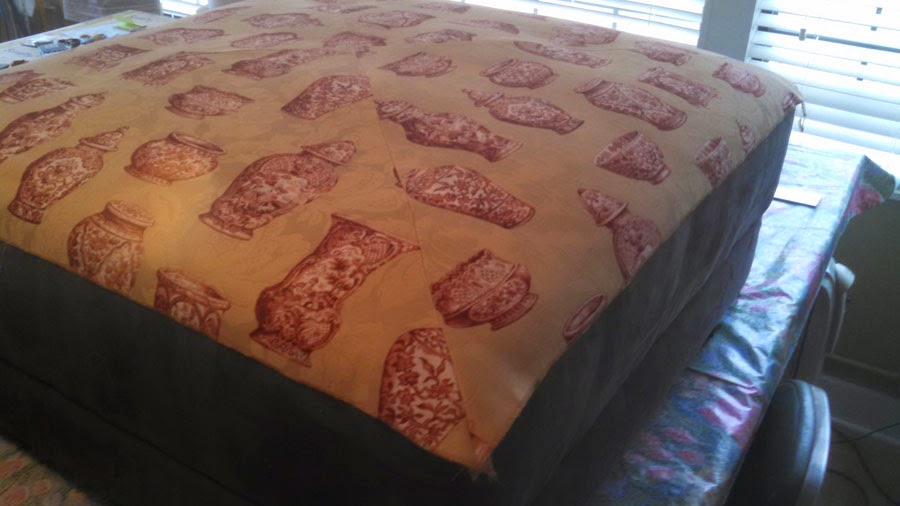 The pieced top. The four triangular pieces came together in the middle. I topstitched the seam allowances to give a flat appearance.
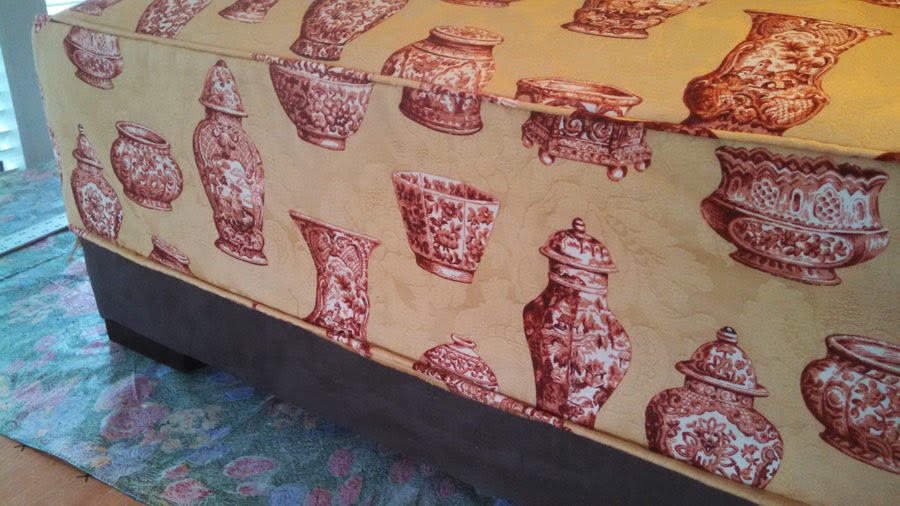 After attaching cording to the top and side and sewing the sides to the top.
 I lined the skirts. This picture shows mitering the corners on the inside after sewing the lining to the bottom and sides.
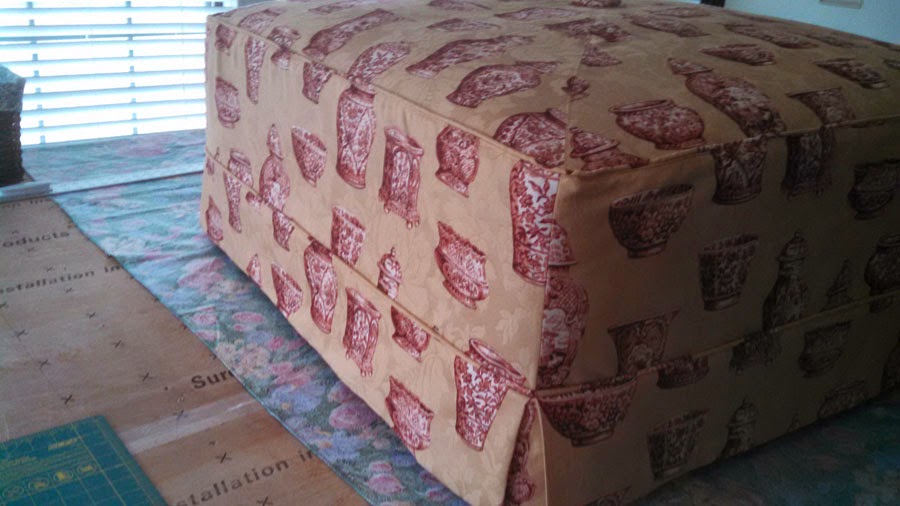 This picture was taken after I basted on the skirt. I decided it wasn't long enough, so I removed it and lowered it an inch. Now it just grazes the floor.