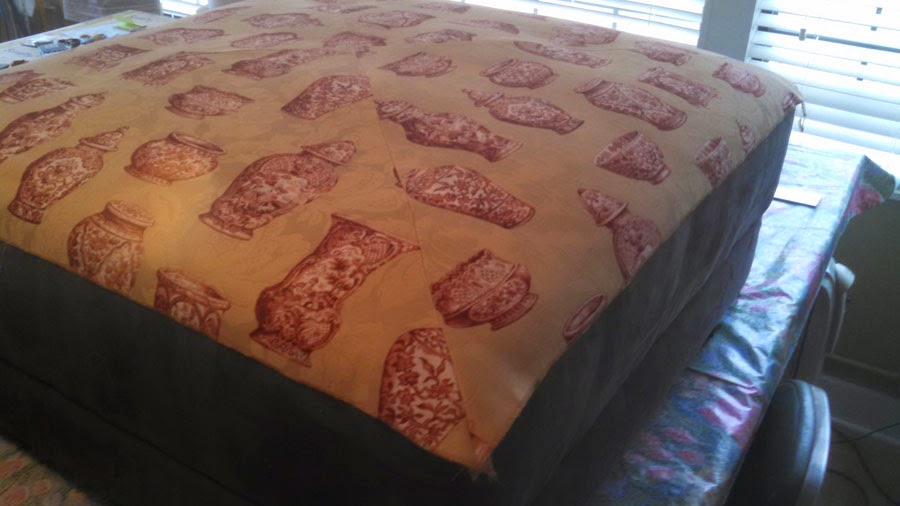
 Here is the "before" picture. The ottoman measures 37.5" on each side.
 The pieced top. The four triangular pieces came together in the middle. I topstitched the seam allowances to give a flat appearance.
 After attaching cording to the top and side and sewing the sides to the top.
 I lined the skirts. This picture shows mitering the corners on the inside after sewing the lining to the bottom and sides.
The serging is visible here as well. As a rule, I serge all edges either right after cutting or after completing a seam.
 This picture was taken after I basted on the skirt. I decided it wasn't long enough, so I removed it and lowered it an inch. Now it just grazes the floor.
You can (barely) see the cover button attached to the top center. You can also see the separate skirt corner pieces that give it a pleated look.

A closer picture of the top. The increased seam allowance toward the corners of the ottoman helps it lie flat and follow the contours of the top. The slipcover is just loose enough to pull on easily, but snug enough to be fitted. The client was "well pleased" !!
Wow what a great blog, i really enjoyed reading this, good luck in your work. Material for Kitchen Curtains
ReplyDelete